Home / Sourcing & QC / Installation guide
From the crate to the level
Cabinet installation, crate to level.
The site side of a ready-to-assemble order: the crew tool list, the hardware in the bag, the numbered sequence for base, wall and tall units - and the adjustments that keep the run straight. Drawn from the installation specification that ships with the order.
Day one
What the crate gives you.
- Numbered boxesevery box numbered to the bay or the room, against the crate-by-crate packing list
- Hardware bagcam locks, wooden dowels, Connet three-in-one connectors, cabinet screws, hinges, full-extension runners, adjustable legs
- The 48-hour windowdamage reported within 48 hours of the delivery date - written into the contract
- The frozen speca damaged or missing part is re-made to the frozen spec, not to a description
The set has already been through trial assembly at the factory's 72-hour QC gate - the boxes go up in the documented order rather than by discovery. On the pre-built line the carcass arrives assembled and the hardware is fitted; that is the assembled line.
Before the first screw
The tool list and the bag.
Tools the crew brings
- Powerdrill, jigsaw, angle grinder, sander
- Handhammer, screwdriver, utility knife
- Measuretape measure, ruler and square, spirit level, pencil
Hardware in the bag
- Joinerycam lock, wooden dowel, Connet three-in-one connector, cabinet screws
- Doorssoft-close hinges, rated at 50,000 cycles
- Drawersfull-extension runners
- FeetABS adjustable legs
The order of operations
The cabinet installation sequence, unit by unit.
The specification ships the numbered steps per unit type; this is the shape of the run, filmed on our own line.
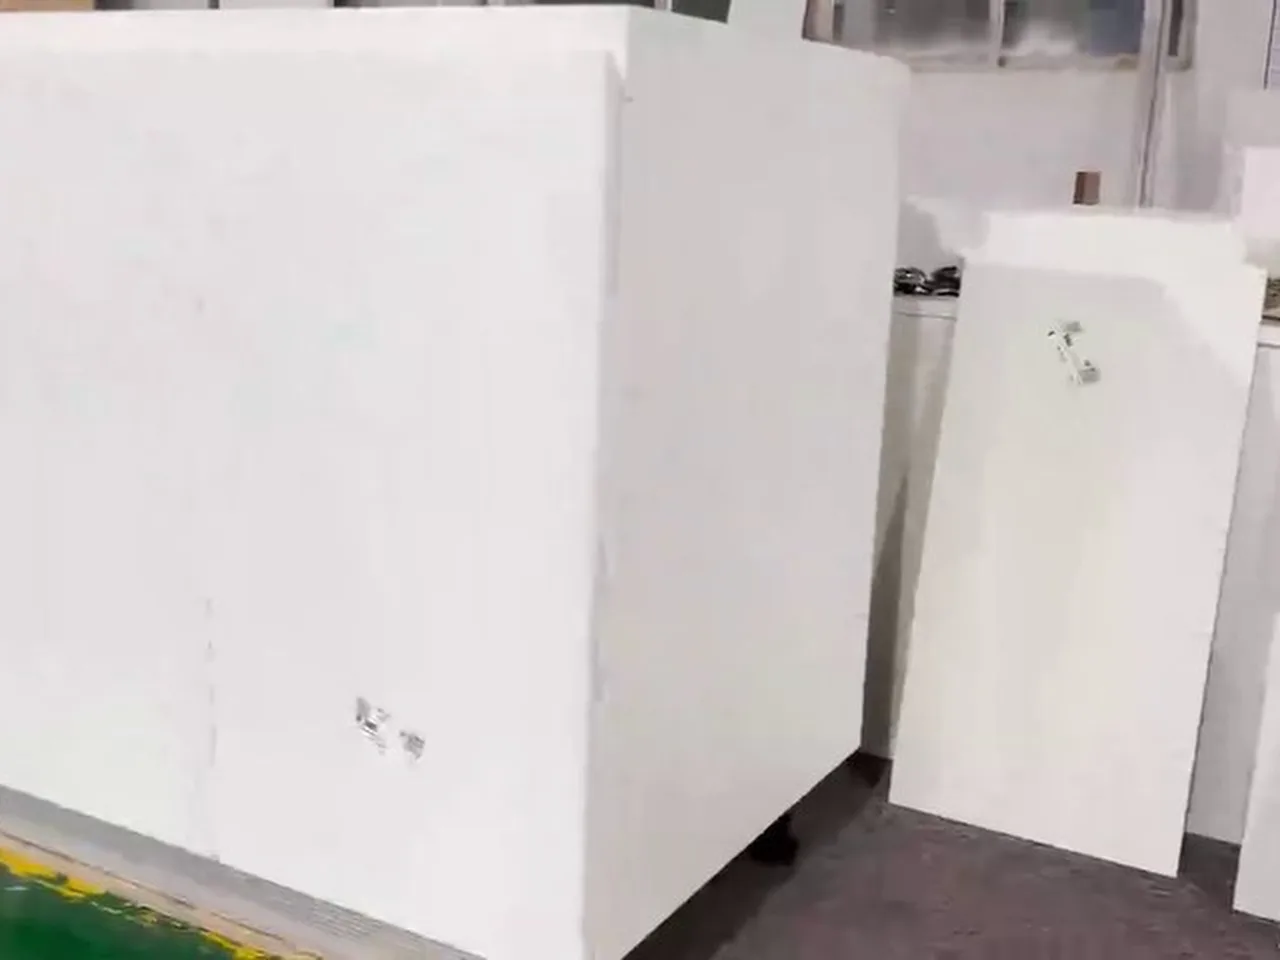
Build the carcasses
Cam locks and wooden dowels close each carcass; the Connet three-in-one connector and the cabinet screws join unit to unit down the base line.
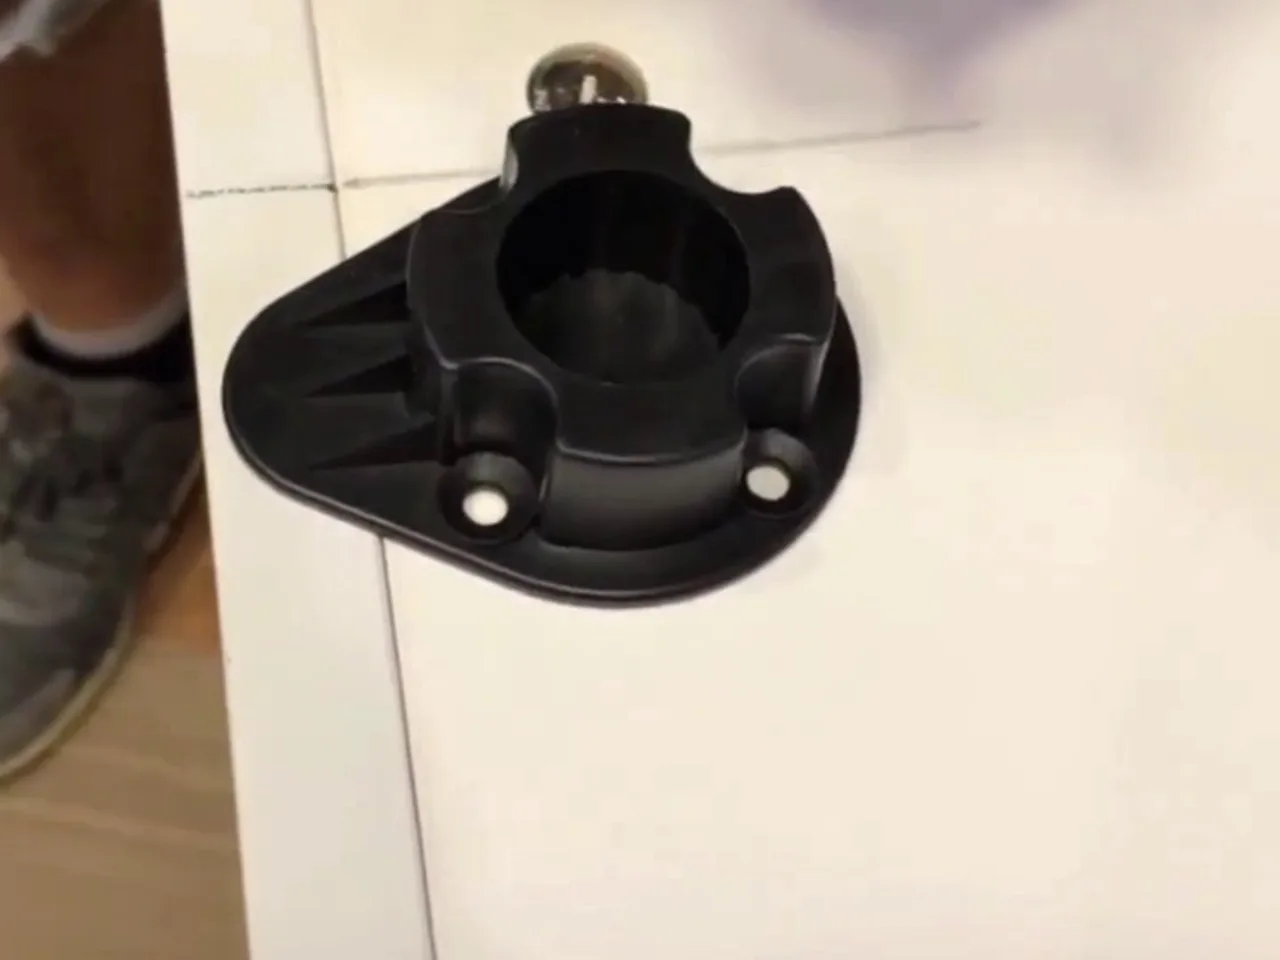
Set and level the base line
The ABS adjustable legs take the level before anything is fixed to the wall - the spirit level is the referee.

Hang the wall units
Wall hangers locate the wall line; the tall units land between the base line and the wall run, level checked again.
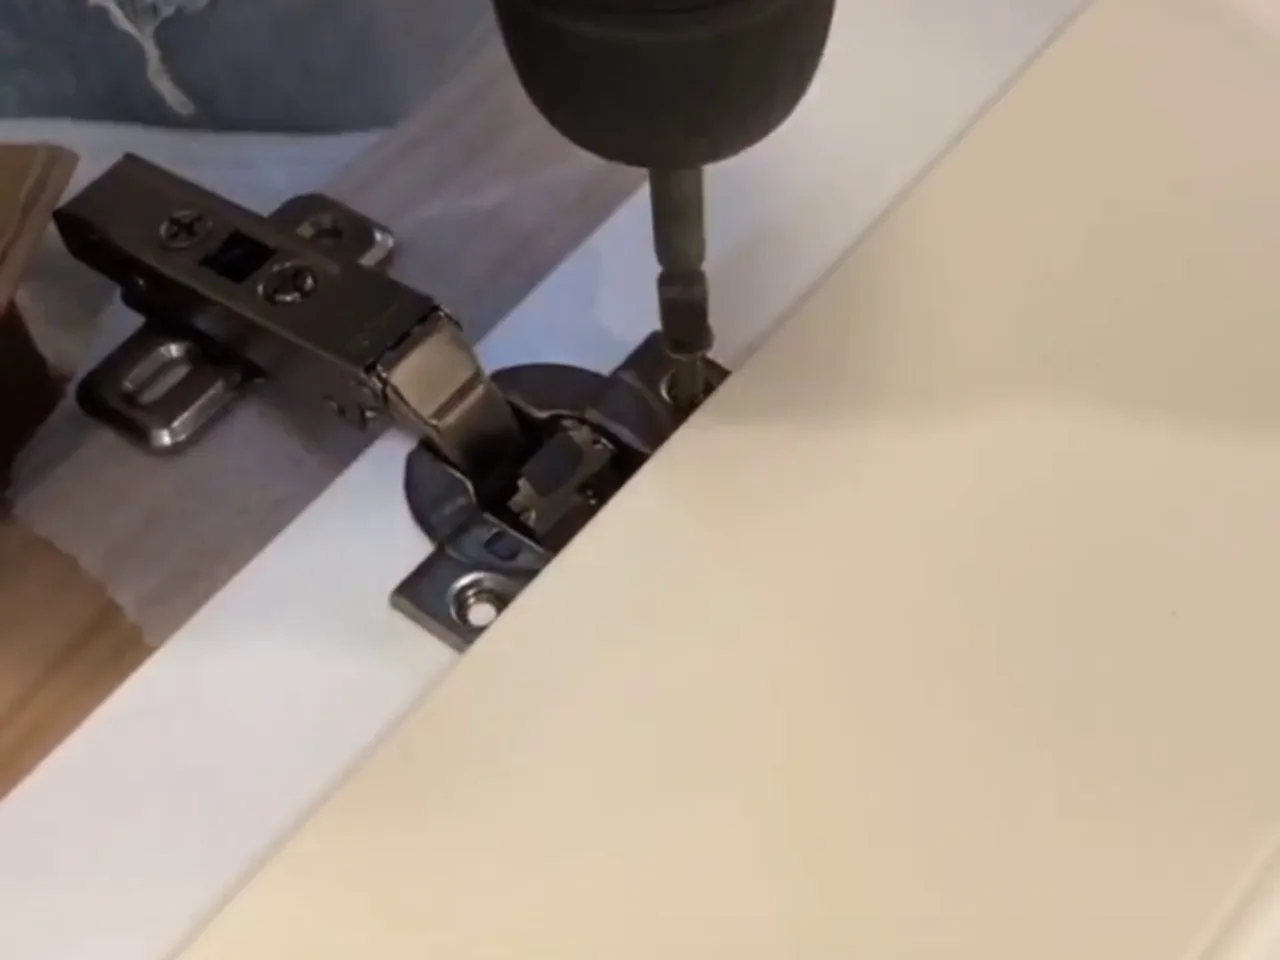
Fit the doors
Hinges first, doors second - the run is checked square and the reveal even before the worktop is planned.
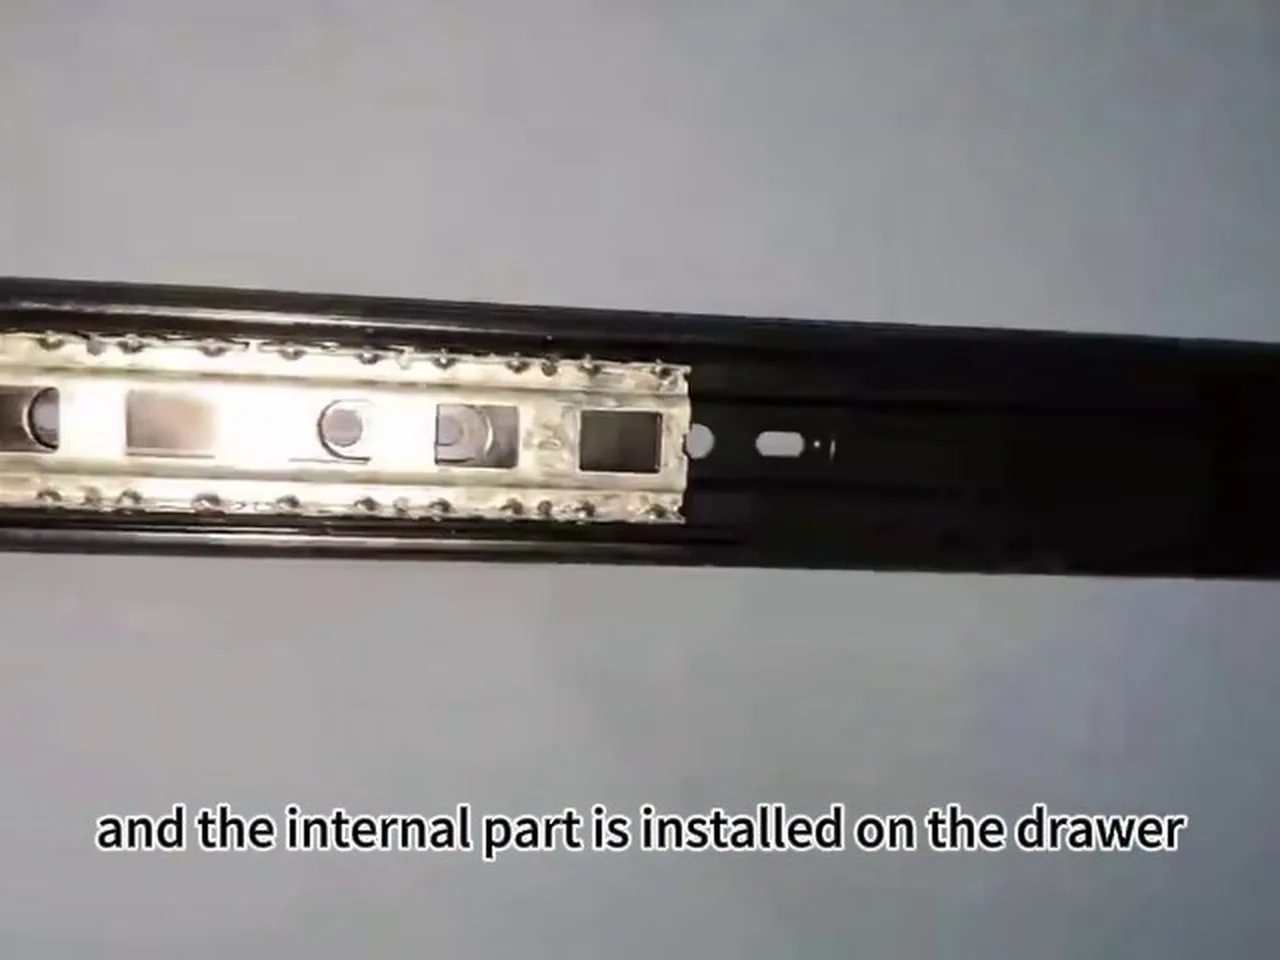
Fit the drawers
The runner's internal part is installed on the drawer box; the box slides in full extension and sits on the carcass line.

Site drilling where the spec says
Marked holes only - the small drilling points the specification calls out for site fittings, nothing more.
Beyond the crate
The video library and the line to call.
The full English installation video library - per unit type, per hardware fit, filmed on our own line - is sent on request with the order file, and the cabinet installation questions that come back from sites are answered on the same WhatsApp line. When the run is level, the 24/48/72-hour photo record from the factory is already in the file for your customer.
Related: ready-to-assemble vs assembled vs flat-pack vs assembled - and the five passes on the measuring guide that make the site fit.
FAQ
Installation questions, answered.
Do we need specialist tools?
How does the run actually go up?
What if a part arrives damaged?
Can we see the installation videos?
Does flat-pack change the site work?
Who levels the worktop line?
Send the crate list, get the install pack.
The specification, the video library and the hardware bag - matched to your order number, on the same WhatsApp line.