Home / Design library / Kitchen layouts
Design reference · kitchen · 12 layouts
Twelve kitchen layouts, and the numbers that decide them
Every kitchen we draw starts with the same three questions: where does the sink go, how wide is the aisle, and which wall is allowed to be tall. These twelve layouts come from houses in Australia, the Gulf, southern Africa and Canada, and each one answers those questions differently.
Galley · island · L and U plans · tall runs · window splashbacks · Kitchen cabinets
Read this first
Drawings, not showroom photographs
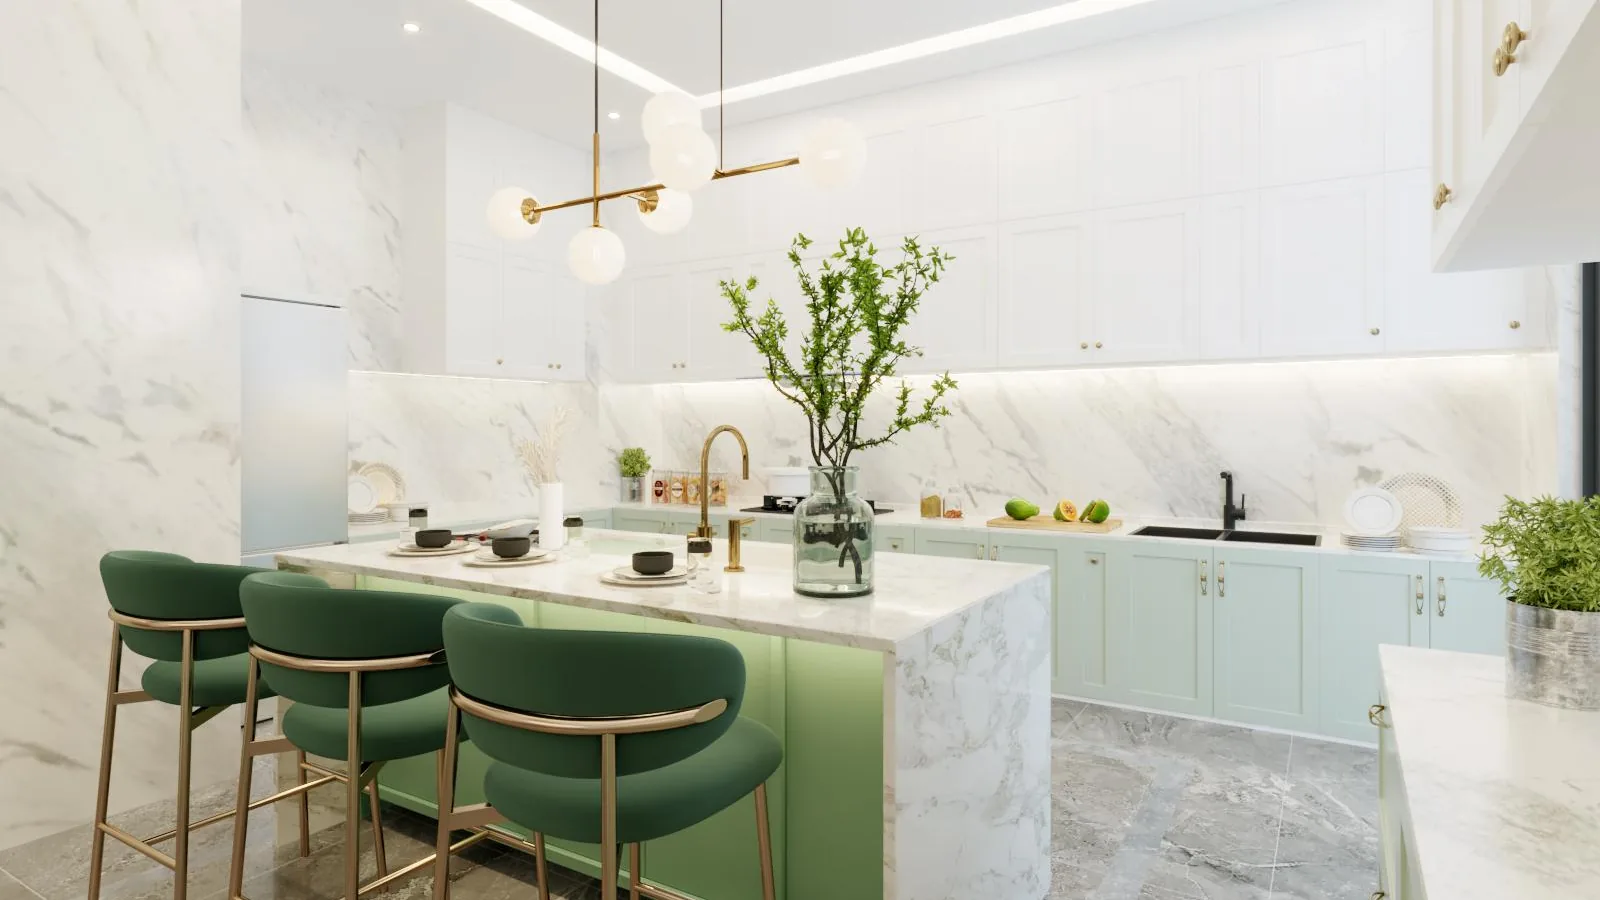
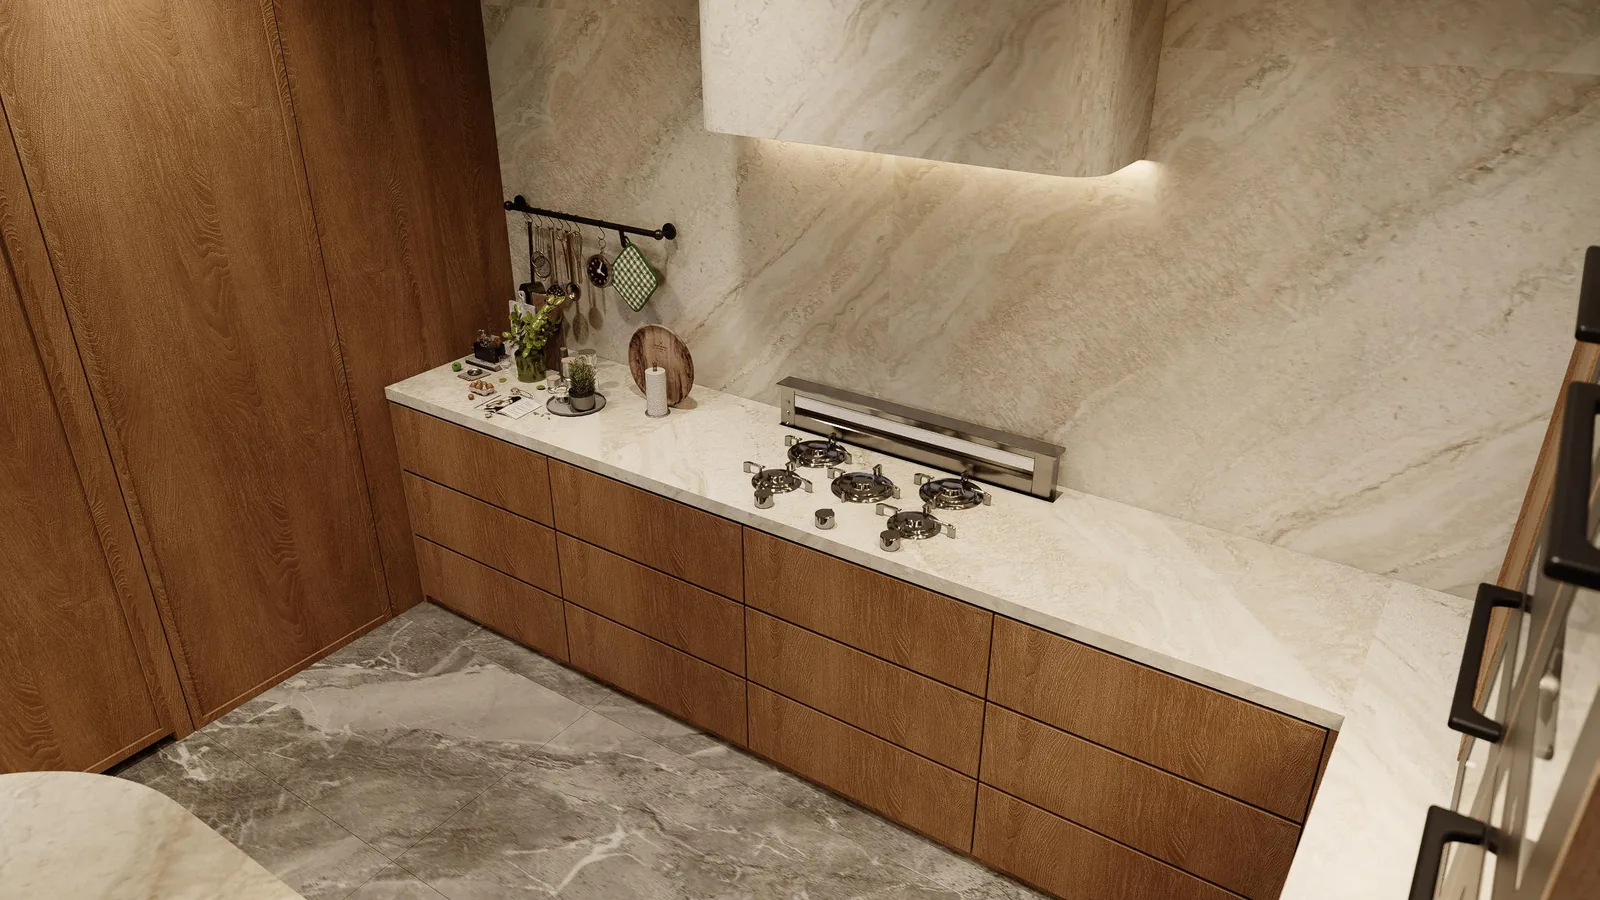
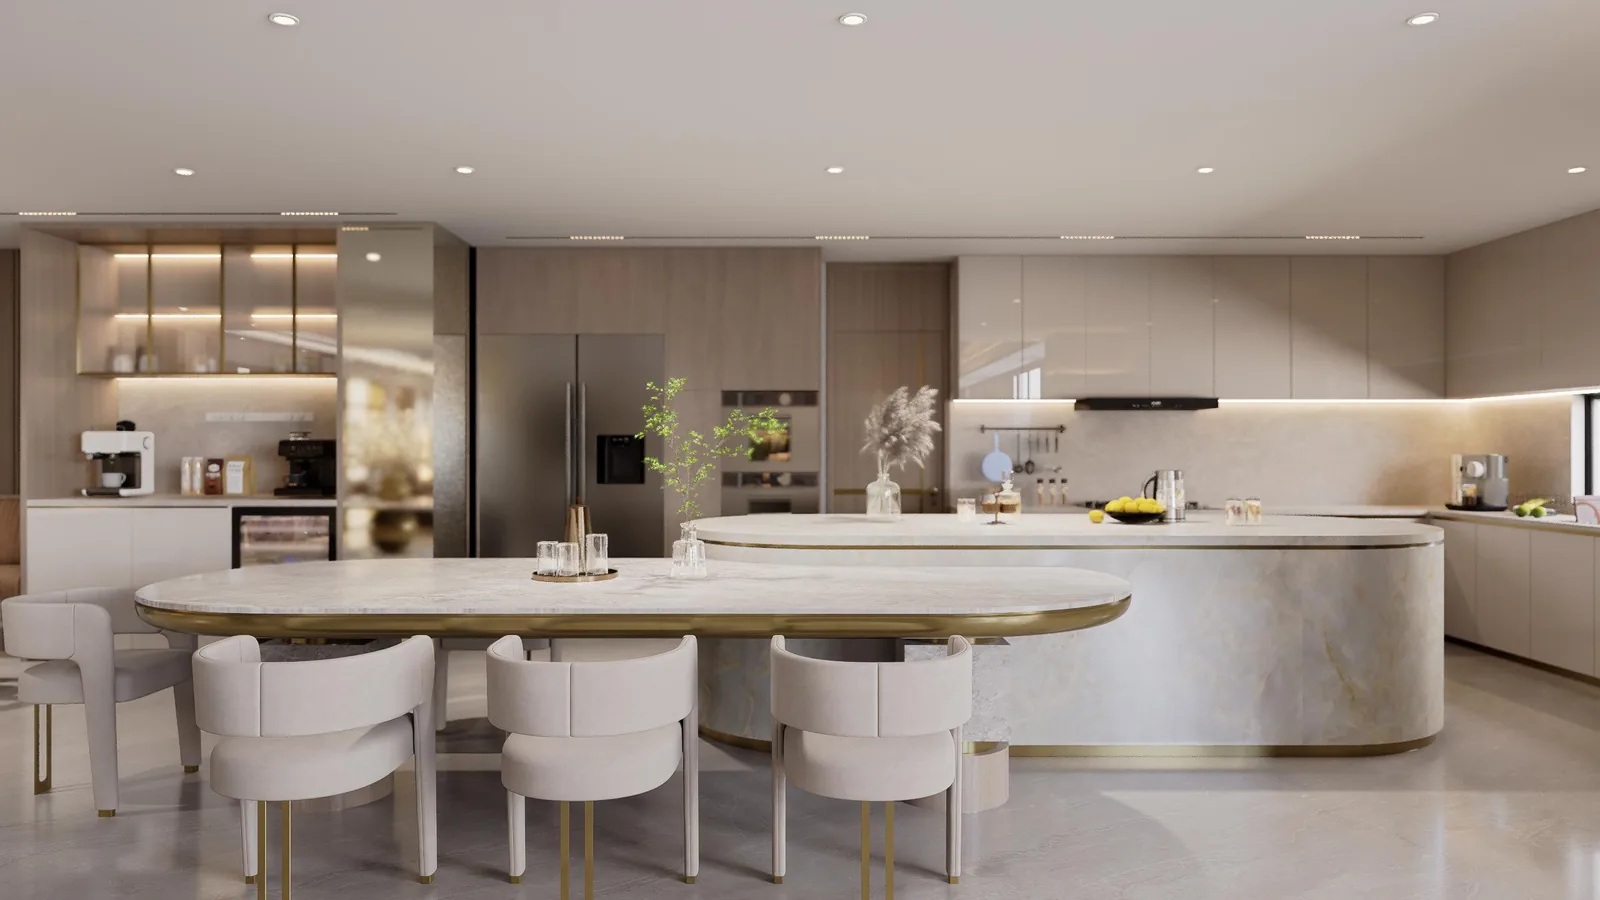
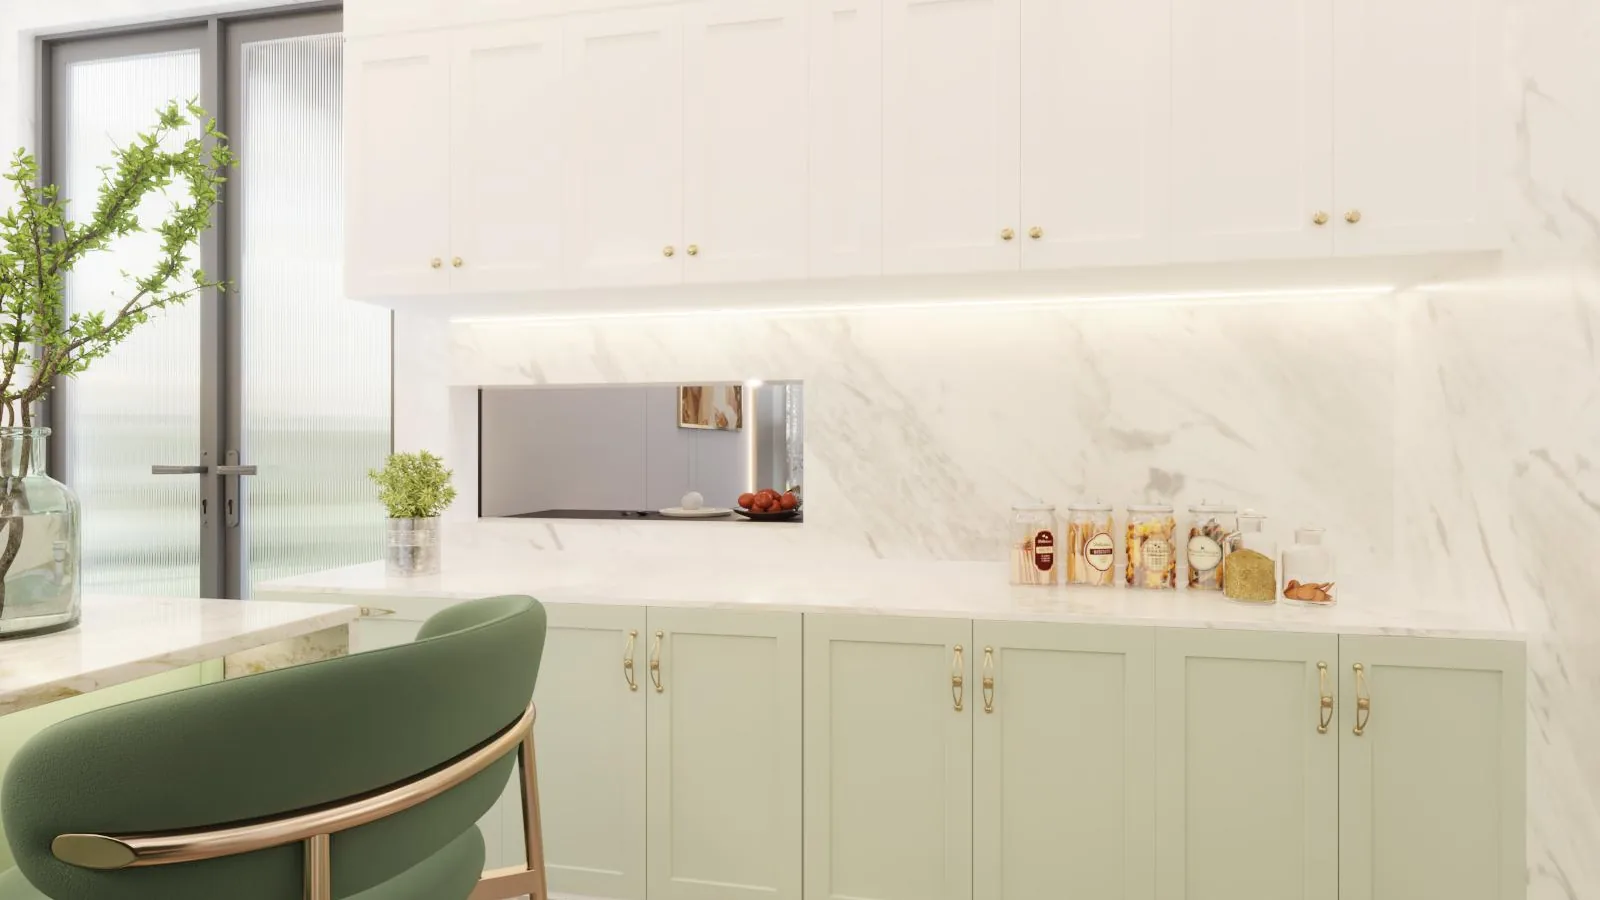
These are design packs our own desk produced for clients who commissioned them — the renders are the ones the client approved, and the dimensions quoted under each image are the ones on the drawings. They are not site photographs of finished kitchens; for installed work, the project pages carry the photographs.
We publish the layouts because the layout is where a kitchen is won or lost, and because the same mistakes repeat across markets. An island that looks generous at 900 mm wide is unusable once someone opens the dishwasher. A galley drawn at 2,600 mm between runs works on paper and fails with two people in it. The numbers below are the ones we build to.
From the drawings
Four markets, four answers
The first four are island kitchens in open plans; the next four are runs where the wall does the work; the last four are edge cases — a galley, a window splashback, a vaulted room and a wine wall that is really a cabinet.






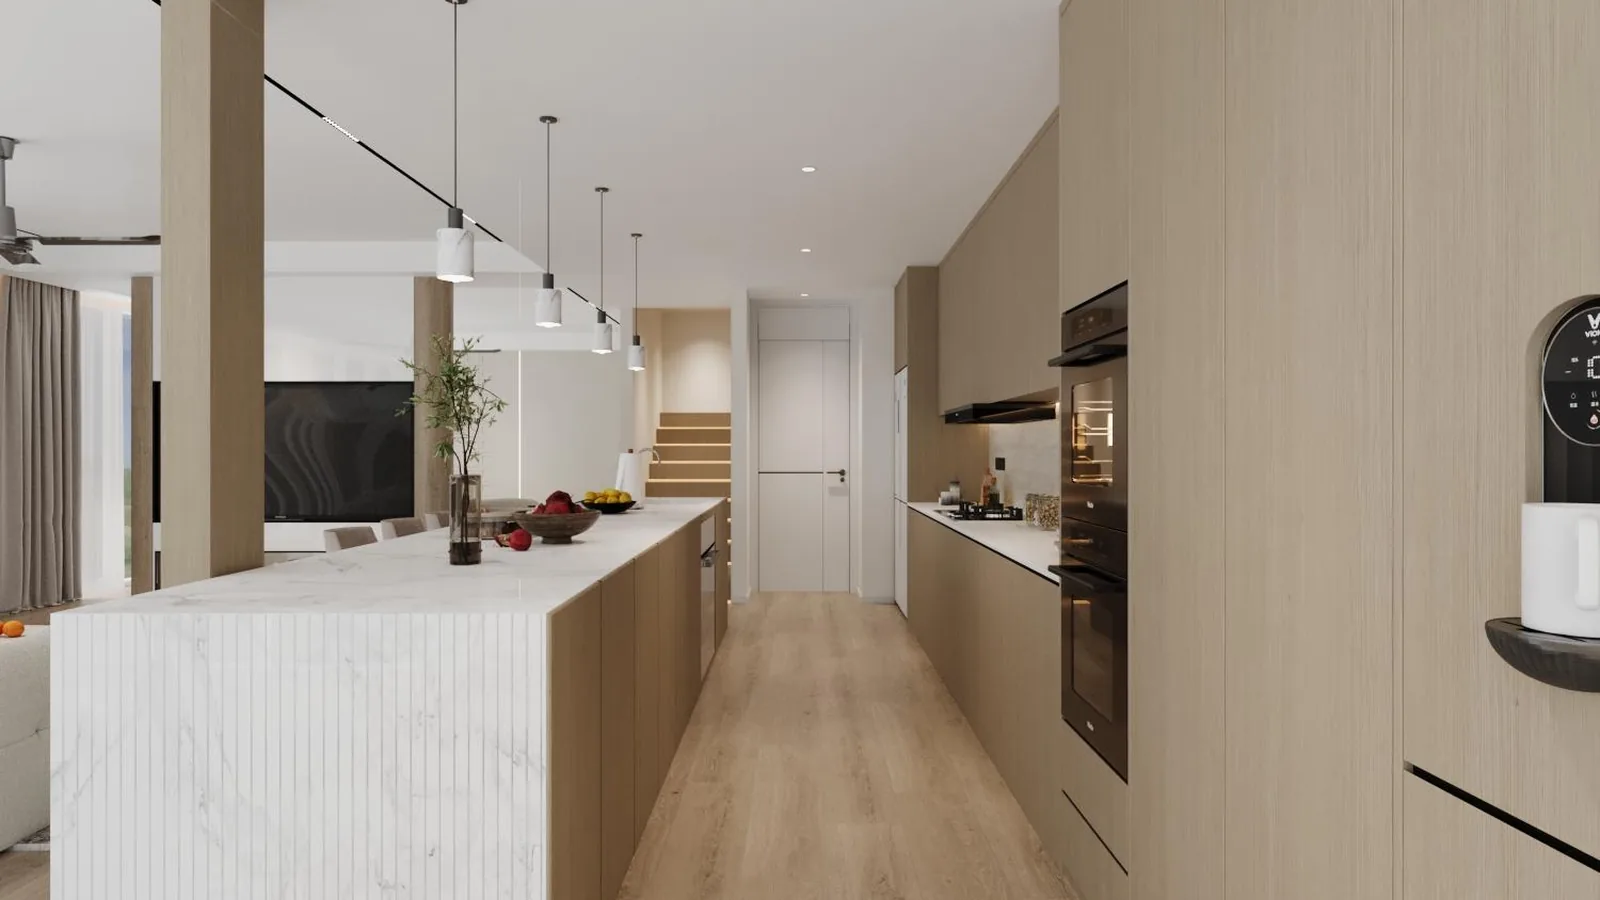
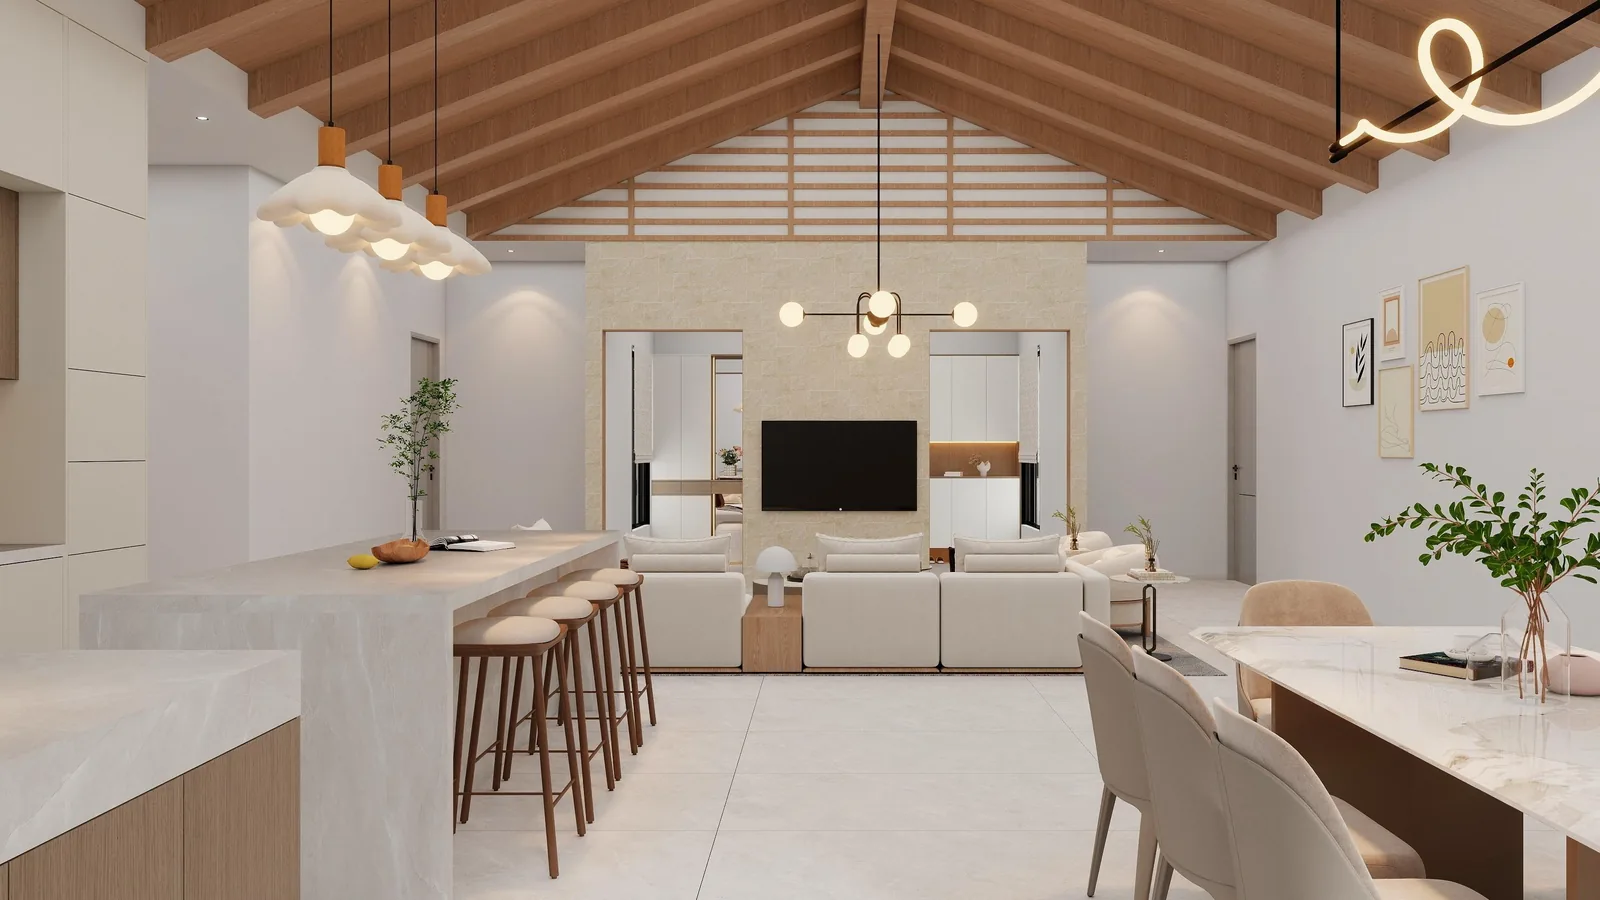
Design decisions
How we size a kitchen before drawing it
Start with the aisle, not the cabinets
The single dimension that decides whether a kitchen works is the clear floor between runs. Our band is 1,000 to 1,200 mm. At 1,000 one person works comfortably and a second waits; at 1,200 two people pass without touching. Past 1,350 the kitchen stops feeling like a kitchen and the cook walks a corridor between shift.
It is also the dimension clients most often want to trade away for island length. If a plan gives you 3,600 mm between walls, an 1,100 mm island leaves 1,250 each side and works; a 1,400 mm island leaves 1,100 and only just works; a 1,800 mm island leaves 900 and does not.
Islands have three numbers, and all three matter
Length, depth and overhang. Depth is 1,050 mm as a default — 600 of cabinet and 450 of clearance behind the stools, or 600 cabinet plus 300 overhang plus 150 for the stool to tuck under. Overhang below 250 mm means knees against the panel; above 350 mm needs a support every 900 mm or the front edge sags.
Length is set by what has to sit in it. A sink island wants 1,800 mm minimum, a hob island 2,400, a sink plus three stools 2,700. Anything shorter and the island becomes a peninsula with a walkway behind it, which is often the better answer — one of the packs here does exactly that.
The work triangle is out; the work zone is in
Nobody designs to the old triangle rule any more, because a modern kitchen has five or six stations, not three. What we do check is the distance from the sink to the hob and from the fridge to the first landing surface. Sink to hob should be within about 1,200 mm of clear counter — that is where the prep happens; fridge to landing should be 900 mm of counter at the same height, so a full shopping bag has somewhere to land that is not the floor.
The corollary is that a fridge at the end of a run, with nothing beside it, is a layout error. It is also the most common thing we redraw on plans sent in by owners.
Tall units are a placement problem, not a storage problem
Buyers ask for more tall storage; the constraint is that a 2,400 mm tall run is visually heavy and has to go somewhere that can carry it. Our rule is one wall only. Put it beside the fridge wall or on the wall without a window, and keep the run facing the room low, so the sightline from the door lands on a horizontal line.
Height is measured, not assumed. The tall run is built to the lowest ceiling point minus 10 mm and closed with a scribe in the door finish. On a 2,740 mm ceiling that means 2,690 plus a 50 scribe; in a basement at 2,440 it means 2,300 plus 140, and the proportion of the room changes with it.
Appliances set the carcass before the layout is fixed
The order of decisions that actually holds: appliance models first, then the openings they need, then the carcass depths, then the layout. A 900 mm range and a 600 mm cooktop produce completely different runs. A panel-ready fridge needs 19 mm fronts and a carcass deep enough to keep them flush; a freestanding one needs 50 mm of clearance either side and a filler nobody enjoys drawing.
That is why our design packs open with an appliance schedule. Without it, a kitchen can be drawn twice and be wrong twice.
Spec basis
The build behind every layout
| Carcass | 18 mm E0-grade plywood, ENF on request |
| Edge banding | 2 mm PVB hot-melt on every cut edge |
| Base depth | 600 mm carcass; 24 in nominal to suit North American appliances |
| Base height | 870 mm carcass + 30 mm counter = 900 mm finished |
| Wall unit | 350 mm deep standard, 300 where a deep hood forces it |
| Tall unit | Built to lowest measured ceiling minus 10 mm, scribed to the slope |
| Island | 1,050 mm deep default; 1,200 where a downdraft duct runs behind the drawers |
| Hinges | Blum soft-close, 50,000 cycles, clip-on |
| Runners | Full-extension, 35–45 kg per pair |
| Drawings issued | Plan, elevations, carcass sections, machining sheets, appliance schedule, packing list |
Standard defaults. Any job can move off them on the drawings before production — that is what the pack is for.
FAQ
Kitchen layouts, in plain answers
What is the minimum aisle width for a kitchen?
How wide should a kitchen island be?
How much room do I need for an island to fit?
Should the sink go under a window?
Where should tall cabinets go?
Do you draw to my appliances?
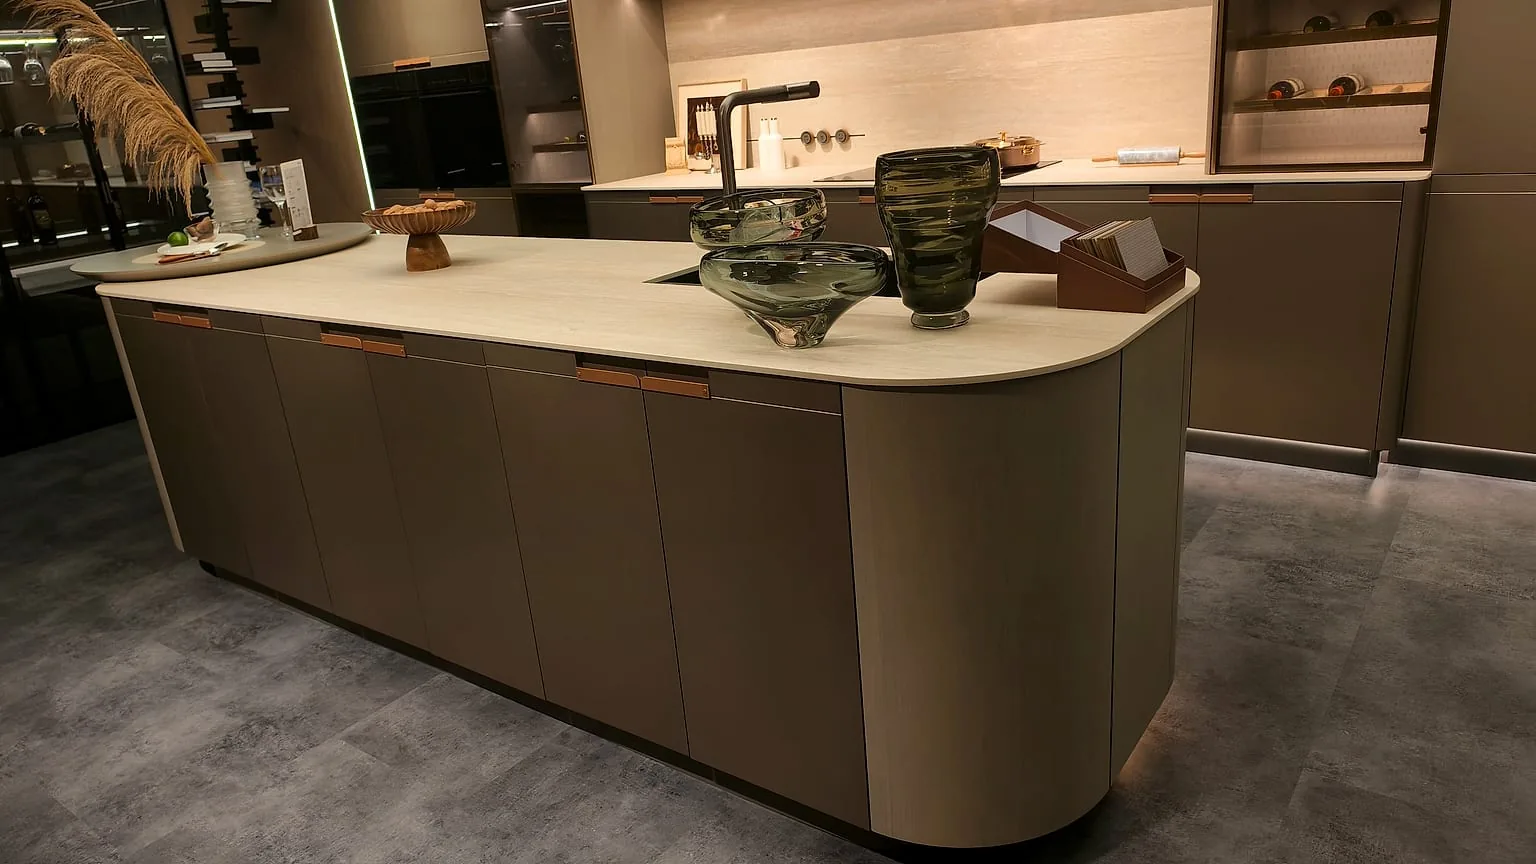
Send the plan. We will draw the layout.
A plan with a scale, the appliance list and your ceiling heights is enough for a room-by-room layout and a price against the final drawing.