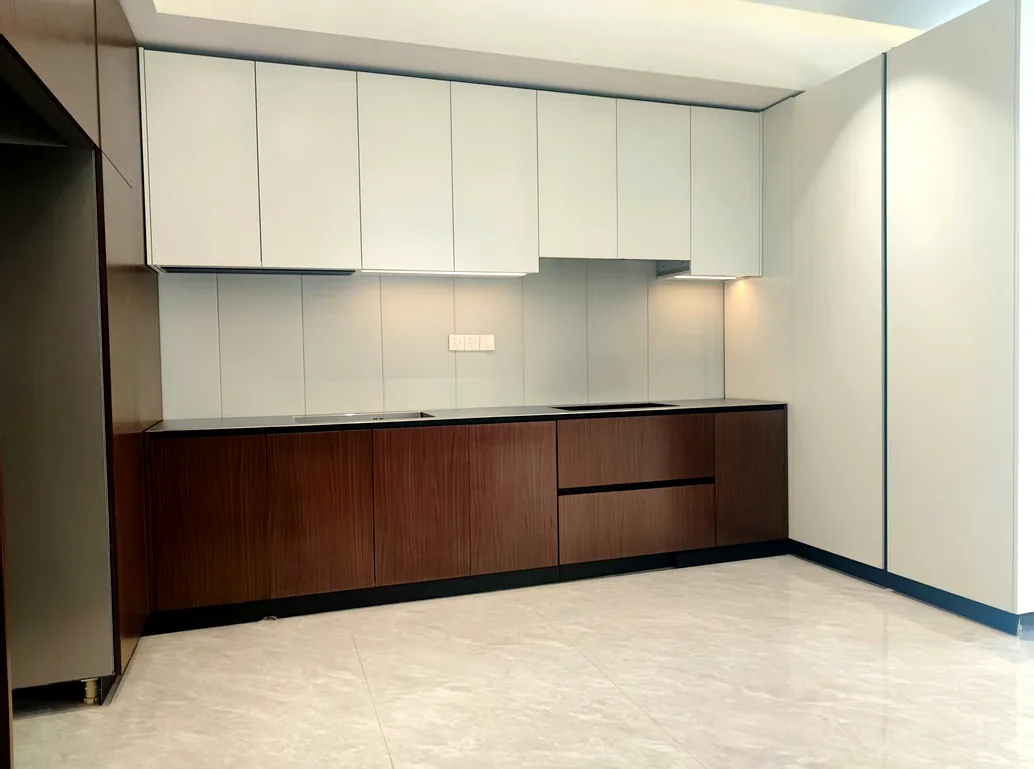
Approving a shop drawing is the last cheap decision in a cabinet order. After it, the same mistake costs a rework, a delay, or a container that arrives right and installs wrong. Most buyers spend that approval reading cabinet shop drawings the way they read a render - does the kitchen look like the picture - and almost none of it on the four things that actually decide whether the order installs: the title block, the site facts the drawing is supposed to answer, the hole positions, and the label that will arrive on the crate.
This is how we review cabinet shop drawings before we ask a customer to approve them, using the same drawing set and label system our own installers work from.
What cabinet shop drawings actually contain
A drawing set is not one picture. Cabinet shop drawings come as a small set of documents, and each one answers a different question. Our installation specification defines the set as the wall cabinet ichnography, the base cabinet ichnography, the wall cabinet elevational drawing, the base cabinet elevational drawing, and the countertop drawing.
| Drawing | The question it answers | What goes wrong when it is skipped |
|---|---|---|
| Wall cabinet plan (ichnography) | Where does each wall unit sit horizontally, and what does it collide with | A wall unit lands on a window head or a vent that was not on the plan |
| Base cabinet plan | Where does each base unit sit, and where do the services land | The sink base ends up where the drain stack actually is |
| Wall cabinet elevation | What is the height, and what sits above the worktop line | Wall units hang at a height that puts the bottom rail in the sight line |
| Base cabinet elevation | What is the run height, kick recess, and appliance opening | An appliance opening is 10 mm short and the unit does not slide in |
| Countertop drawing | Where are the stove and sink cut-outs, and where are the joints | A joint lands over a dishwasher, or a cut-out sits too close to the front edge |
If you only review one of the five, you will approve a kitchen that is drawable but not installable. The plan drawings are the ones that catch collisions; the elevations are the ones that catch heights.
Start with the title block, not the elevation
Every sheet in our set carries the same frame, and the frame is the fastest thing to check. It names the order number, the country, the project name, the space name, the product type, the designer, the reviewer, the date and the page. That is not paperwork decoration - it is the only way to know you are looking at the sheet you think you are looking at.
On a multi-room order the space name is the field that matters most. A set for a whole house will contain a kitchen, a pantry, a wardrobe and a bathroom, and the difference between approving the right sheet and the wrong one is one line in the frame. Check that the order number matches your contract, that the space name matches the room you are approving, and that the page count is complete - a set that arrives with page 3 of 7 missing is a set that will be built incomplete.
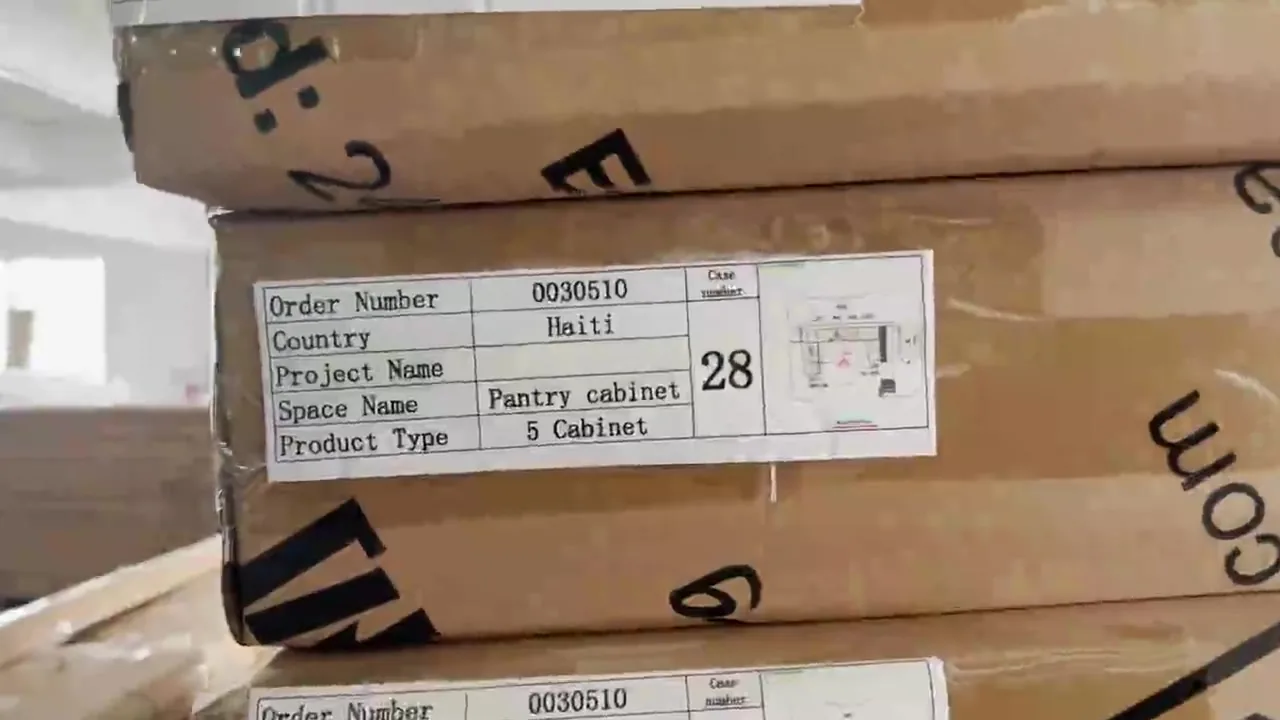
The same fields appear on the crate when it ships, which is what makes them worth checking twice. A carton that arrives marked with the order number, the country, the project name, the space name, the product type and the case number can be sorted to the right room without opening it. A carton without them cannot, and the install crew will work it out by trial and error on site.
The site facts the drawing has to answer
A drawing can be internally perfect and still be wrong, because the wall it was drawn against is not the wall that exists. Our own drawing-check procedure lists what has to be confirmed before a design is frozen, and every item on it is a thing that has caused a rework somewhere.
| Site fact | Why the drawing cannot be approved without it |
|---|---|
| Overall wall dimensions, and whether the run is against one wall or two | The run length is set by the wall, not by the render |
| Water and power positions, especially the water point and the cooktop cut-out | These fix where the sink base and the hob base have to sit |
| Ceiling height | Decides whether a tall unit or a full-height run fits at all |
| Customer-supplied appliance dimensions, with the installation drawing | An opening cut to a catalogue photo instead of the install drawing will not fit |
| Column sizes | A column in the middle of a run changes the whole plan |
| Door and window openings, including their distance from wall and floor | A window above a worktop decides whether a wall unit can hang above it |
| Whether a gas cylinder sits inside the cabinet | Changes the ventilation and the carcass, not just the door |
| Whether the distribution box or a power point obstructs a cabinet | A unit that covers a panel cannot be opened or serviced |
| Whether the wall is already tiled | Decides the filler width, or whether a wider filler has to be reserved |
Ask for these as a list, and ask for them against measured site dimensions rather than a sketch. The single most common cause of a cabinet that cannot be installed is a drawing made from approximate measurements and approved from the screen.
Hole positions are the part nobody checks
This is where approved cabinet shop drawings quietly become uninstallable ones. Our carcasses are built on a 32 mm module system: standard industrial board combined with standard aluminium hole patterns and the hardware that fits them, principally the eccentric connector and the hinge. The module is what makes a cabinet adjustable, serviceable and reorderable - and it is invisible on an elevation.
What to check on the drawing instead:
- System hole spacing is stated, and it is consistent across the set. A run that mixes two systems cannot share shelf pins or hinges.
- Shelf peg positions are shown, because they decide the usable shelf heights. One shelf is carried on four supports, with L-shaped supports at the front.
- Hinge positions are dimensioned to the door, not just to the carcass, so the hinge cup lands where the boring machine will actually put it.
- Connector counts are right. Two adjacent cabinets are joined with connecting screws through pre-drilled 8 mm holes - if the drawing shows a joint with no hole, the join does not exist.
- Wall unit hangers are shown. Each wall cabinet takes two hanging holders, either exposed or concealed, used with the hanger plate, and the plate position is dimensioned to the wall.
- Kick and leg positions are shown. Adjustable legs sit on foot bases set back from the door line, and that setback is what lets the kick recess line up across the run.
- Filler and finish panel widths are dimensioned, including the extra width an aluminium-framed door needs to finish flush.
None of these appear on a render, and all of them appear on a shop drawing. That is the whole reason the shop drawing exists.
Check the carcass list against the cabinet type
Our installation specification splits a kitchen into four building blocks - wall cabinet, base cabinet, tall cabinet and countertop - and each block is made of a different set of parts. A wall cabinet is left and right side boards, top and bottom boards, a shelf, a back board and a door. A base cabinet adds the front and back linked strips and takes an adjustable leg instead of a fixed plinth. A tall cabinet adds a fixed shelf and a different back-strip arrangement.
So when you review the parts list, check it against the type of cabinet it belongs to, not against the cabinet next to it on the plan. A base cabinet list applied to a tall unit will be short a fixed shelf; a wall cabinet list applied to a base unit will be missing the linked strips that carry the front rail. The names are similar enough that this mistake survives review, and different enough that it stops the install.

The label is the last checkpoint
The drawing is approved, the carcasses are cut, the hardware is kitted, and the last thing that happens before the doors close is labelling. Our label guide sorts the whole shipment into categories by colour and shape rather than by name alone: sheet metal and hardware, wood factory output, door hinges and rails, hangers, skirting and adjustable feet, LED strip accessories, and exposed handles and small items.
That is worth knowing as a buyer for one reason: it tells you what the installer will be sorting on site. Cartons are marked by order number, country, project name, space name, product type and case number, so a crew working a whole-house order can stage every carton to its room before a single one is opened. When cabinet shop drawings are approved with the space name correct, that is what makes it work.
The pre-assembly window is your last free correction
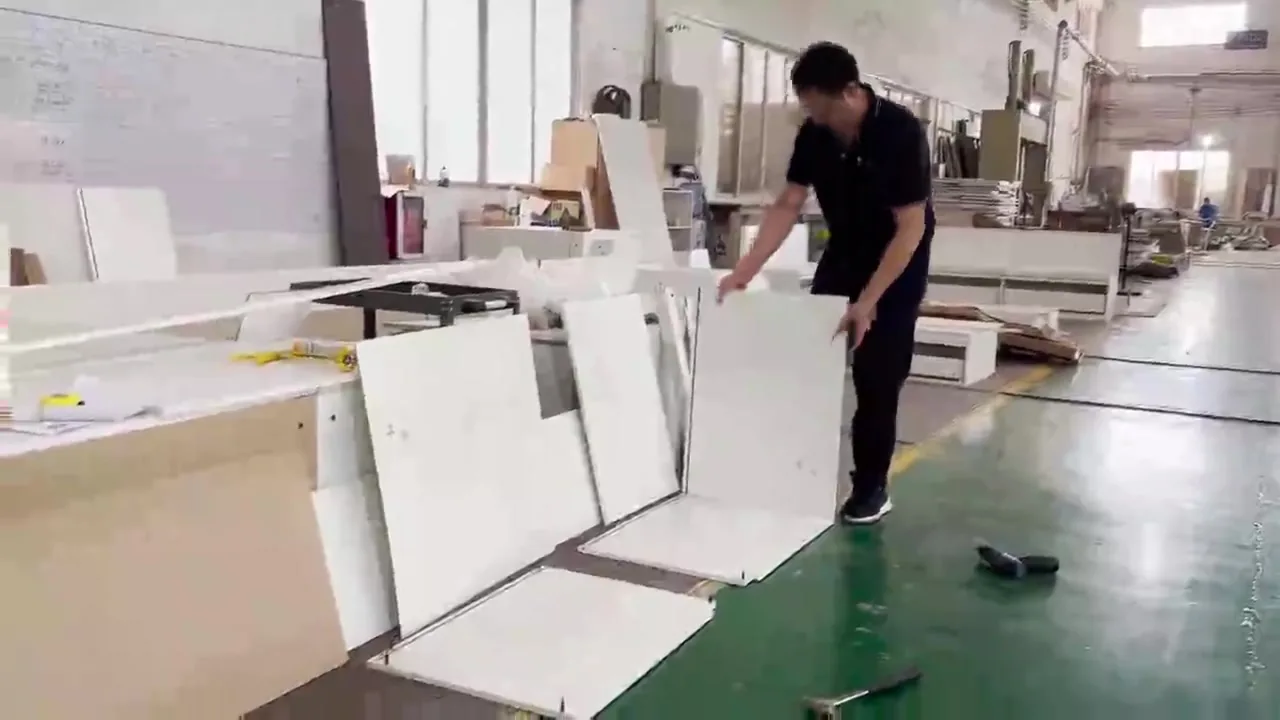
Every order is trial-assembled on the bench before it is packed, and that step exists for the drawing's benefit as much as the cabinet's. Assembling in the warehouse first is what catches the mistakes a drawing review missed - the space is big enough to work without collision, the error is found before the customer sees it, and the fix happens while it is still a part rather than a delivered cabinet.
That is also why photo reports at 24 hours (cut parts and edge banding), 48 hours (finishing and hardware) and 72 hours (trial assembly and packing review) are worth reading rather than filing. If a checkpoint photo shows something you do not accept, production pauses and the part is reworked before the crate is sealed. A drawing approved well and checked against those three reports is a drawing that does not need to be corrected on site.
The short version
Reviewing cabinet shop drawings in that order - title block, plan drawings for collisions, elevations for heights, hole positions, parts list against the cabinet type - takes twenty minutes. Skipping it costs a container. Confirm the nine site facts against measured dimensions, not a sketch, and read the three photo reports, because the last free correction is the one before the crate is sealed.
FAQ
What should I check first on a cabinet shop drawing?
The title block. Confirm the order number matches your contract, the space name matches the room you think you are approving, and the page count is complete. A set with a page missing will be built incomplete.
How many drawings should a cabinet set contain?
Five for a kitchen: wall cabinet plan, base cabinet plan, wall cabinet elevation, base cabinet elevation and the countertop drawing. Plans catch collisions, elevations catch heights, and the countertop sheet places the cut-outs and joints.
Why do hole positions matter on an approved drawing?
Because the 32 mm module system is what makes a cabinet adjustable and serviceable, and it is invisible on an elevation. Shelf pegs, hinge cups, connector holes, hanger plates and leg bases are all dimensioned only on the shop drawing.
Can a drawing be correct and still not fit?
Yes, if it was drawn against approximate measurements. Overall wall dimensions, water and power positions, ceiling height, columns, door and window openings and appliance install drawings all have to come from measured site dimensions.
What is the difference between a base and a tall cabinet parts list?
A base cabinet uses front and back linked strips and an adjustable leg; a tall cabinet uses a different back-strip arrangement and adds a fixed shelf. Checking one list against the wrong cabinet type is a mistake that survives review and stops the install.
When is the last chance to fix a drawing mistake?
Before the crate is sealed. Every order is trial-assembled on the bench, with photo reports at 24, 48 and 72 hours. If a checkpoint photo shows something you do not accept, production pauses and the part is reworked before packing.